The Latest
From Habitat
How to Make a Rain Barrel in 5 Easy Steps

Save water and money with a DIY rain barrel you can create in a couple of hours.
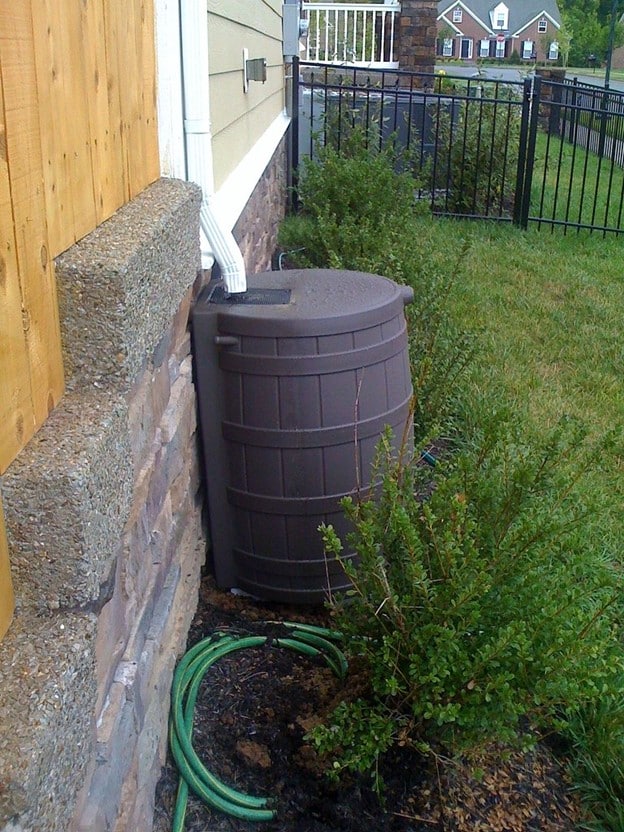
Did you know that each inch of rain that falls on 500 square feet of roof equates to about 300 gallons of water? Instead of letting this precious resource just run off into storm drains, you can use a rain barrel or two to collect and store it until you need it. Besides helping conserve water, you can reduce your water bills by using your collected rainwater in your garden, in kiddie pools, for bird baths, or just about any other scenario where you would have used water from a hose.
Rain barrels offer an excellent and budget-friendly solution for harvesting rainwater. You don't have to break the bank to get one, either. If you're unable to snag a food-grade 55-gallon barrel from platforms like Facebook Marketplace, don't fret. Transforming a food-grade trash can into a rain barrel is just as simple and effective. Follow the same process as you would with a regular barrel.
Here's how to make a DIY rain barrel out of a garbage can in just a couple of hours.
Tools & Supplies:
- 1 plastic outdoor garbage can with lid (food-grade)
- 1 brass spigot
- 2 rubber washers, 2 metal washers, and 1 nut
- Power drill and bit
- Box cutter or utility knife
- Landscaping fabric or fine mesh screen
5 steps to build a rain barrel
Step 1: Drill a Hole
Drill a hole a few inches above the bottom of your trash can. This is where the spigot will be inserted. Use a drill bit that's slightly smaller than the spigot or union fitting to ensure a tight fit.
Step 2: Attach and Seal the Spigot
Place a metal washer onto the threaded end of the spigot, then put a snugly fitting rubber washer over the threads to help hold the washer in place and prevent leakage. Apply waterproof sealant over your rubber washer and insert the spigot into the hole on the outside wall of your barrel. Allow the sealant to dry, then run a rubber washer, followed by a metal washer onto the threads of the spigot inside the barrel. Secure the spigot in place inside your barrel with a nut.
Step 3: Make Entry and Exit Holes
Carefully cut a hole in the lid of your rain barrel. This hole should sit under your home's downspout so the water runs right into the barrel. Cut the hole so it's large enough to accommodate the water flow from the downspout. You'll also want to drill a couple of holes near the very top of your rain barrel. These holes will allow water to overflow if necessary.
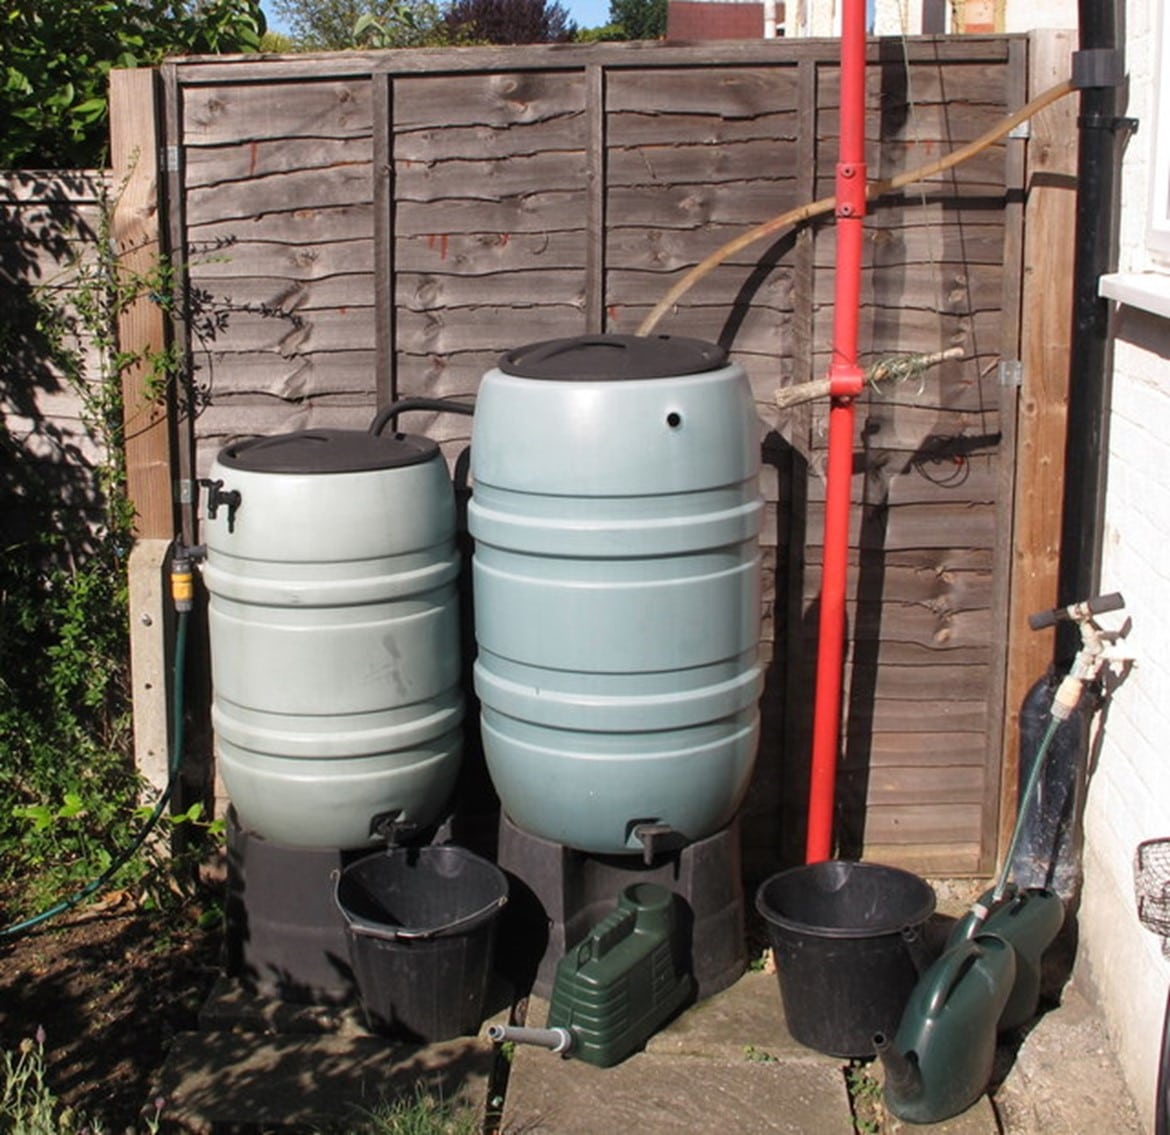
Tip: You can run a short length of hose or PVC pipe from the overflow hole to another rain barrel to connect them. Then, if your first rain barrel fills up, the excess water will run into the next one and you won't lose overflow water.
Step 4: Screen the Top
Cut a piece of landscaping fabric or mesh screen to sit over the top, with at least a couple of inches hanging over the side. Then, put the lid over the top of it to secure it in place, trimming away excess screen or fabric. This will create a barrier that prevents mosquitoes and other creatures from getting in your rain barrel water. Plus, it will help keep any debris washing off your roof out of your water.
Step 5: Place Your Rain Barrel
Position your DIY rain barrel directly underneath a downspout where it will be most convenient for you to access the spigot. It's best to set your rain barrel up on a sturdy platform, such as a low stack of bricks or cinder blocks. This will help gravity push water out better when using a hose attached to the spigot. The added elevation also makes it easier to fill up watering cans directly from the spigot. Then, just wait for it to rain so you can enjoy the water (and money) savings.
Helpful Links:
Video from Instagram on how to make a rain barrel from a 55-gallon barrel
Information about City of La Crosse Storm Water Credits
Be sure to check out local hardware stores for supplies too!

Partner Family
Stories
Darshida has been working to become a homeowner for years. She is a passionate nurse, a dedicated mother to four boys, and a longtime La Crosse resident. After years of hard work and unforeseen obstacles, Darshida and her family moved into their new home in spring 2023.
